




Unit outcomes
Pupils who are secure will be able to:
- Identify objects that use a lever or linkage mechanism.
- Consider what a user might like or dislike for a new toy.
- Make linkage mechanisms with card, identifying the input and output.
- Investigate how changes to the mechanism change how it moves.
- Use diagrams to show ideas for a product.
- Choose between different ideas and explain the reasons.
- Carry out a simple survey of others’ opinions.
- Cut and join materials accurately.
- Decorate a product with a good quality finish.
- Evaluate my product against the design criteria.
Suggested prior learning
Mechanisms: Levers
Get started
Lessons
Lesson 1: Pivots, levers and linkages
Lesson 2: Making linkages
Lesson 3: Designing my monster
Lesson 4: Making my monster
Key skills
Design
- Using empathy and conducting

This content is for subscribers only. Join for access today.
Key knowledge
Design
To know:
- A target audience
This content is for subscribers only. Join for access today.
Key vocabulary
accurate (Y3/4)
design brief (Y2)
This content is for subscribers only. Join for access today.
Equipment list
Equipment needed across all lessons in this unit.
This list does not include equipment which is usually readily available in the classroom (e.g pencils, A4 paper etc)
 Download
Full equipment list for the subject
Quantities marked × will update. Items without quantities are unaffected
- Flipchart 1
-
2 sheets of A4 medium-weight card
×30 -
1 sheet of A4 thick white card
×30 -
12 split pins
×30 -
1 small ball of modelling dough
×30 - Scissors right- and left-handed options recommended. ×30
- Rulers ×30
- Glue stick ×30
- Whiteboards and pens ×30
-
A set of colouring pencils or felt tip pens
×8
The equipment below is optional
- PE hoops 2
-
2 whiteboards with ‘mechanism’ and ‘no mechanism’ written on them
1 -
Extra split pins
As needed -
Extra sheets of A4 thick white card
As needed -
Craft materials, such as pipe cleaners, pom poms and buttons, such as pipe cleaners, pom poms and buttons
As needed
This content is for subscribers only. Join for access today.
Related content
Unit resources


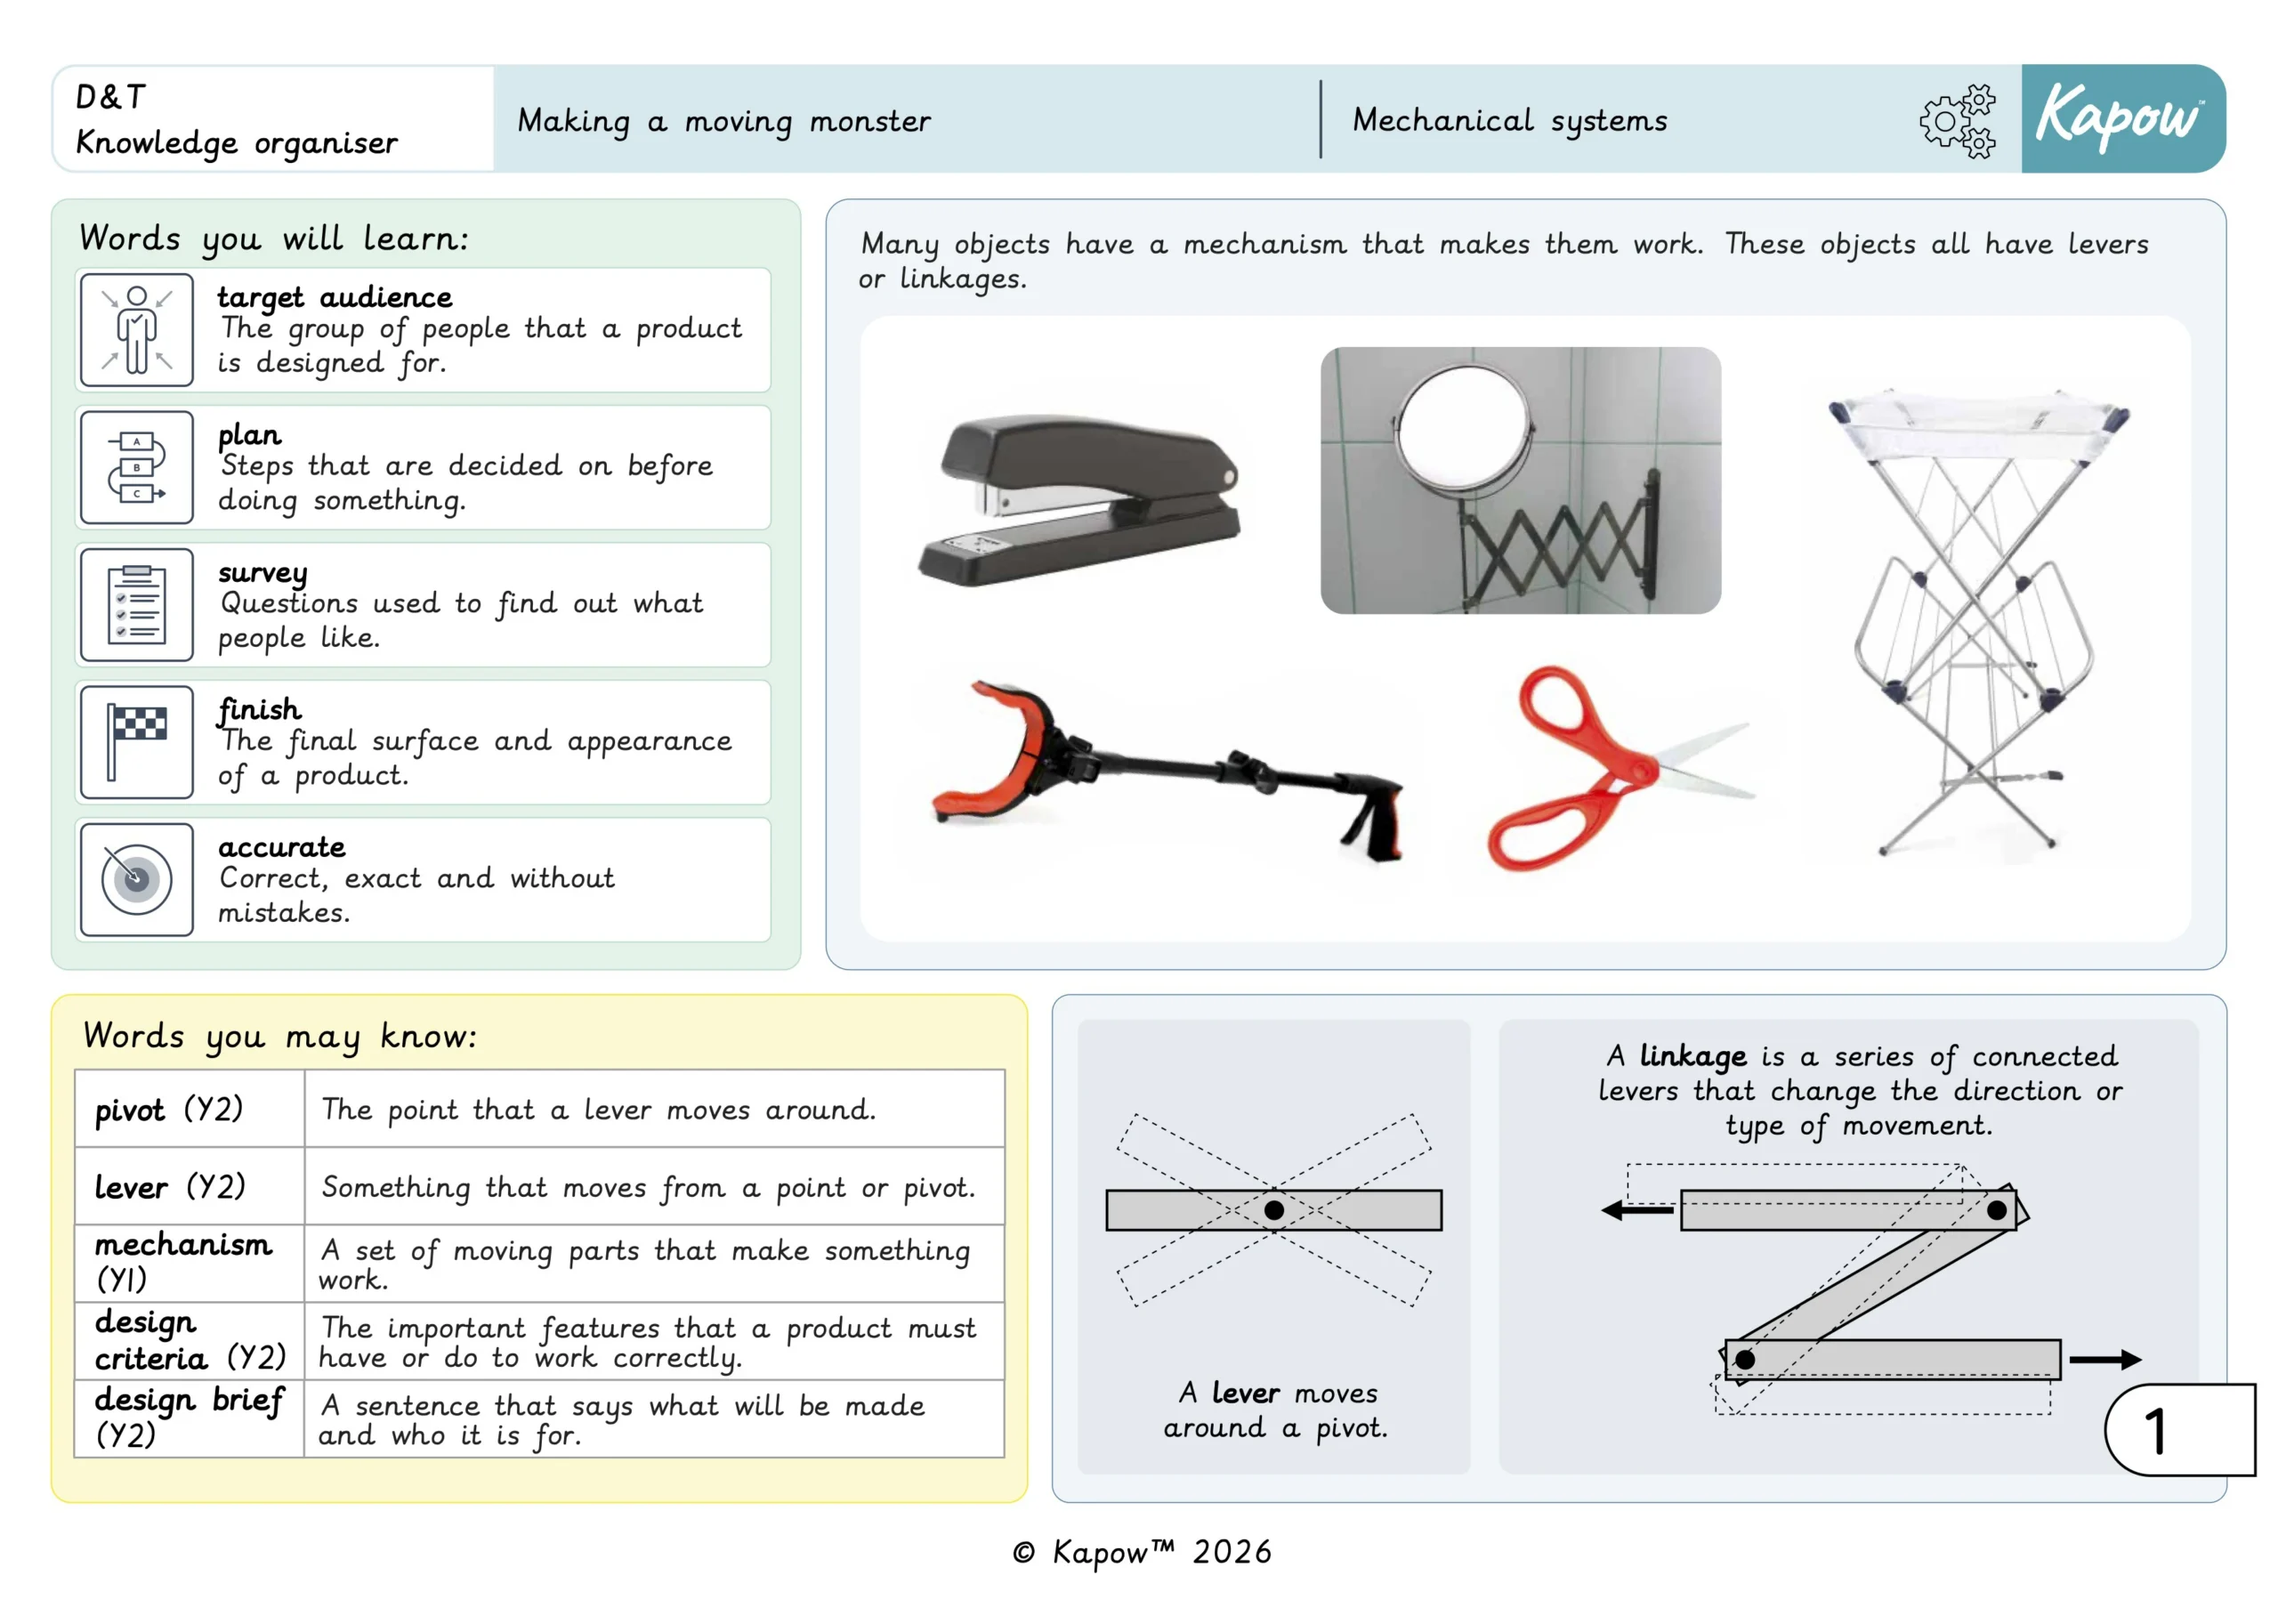
Knowledge organiser – D&T Y3: Mechanical systems: Making a moving monster
Aimed at pupils, two pages giving key facts and definitions from the unit ‘Making a moving monster’.
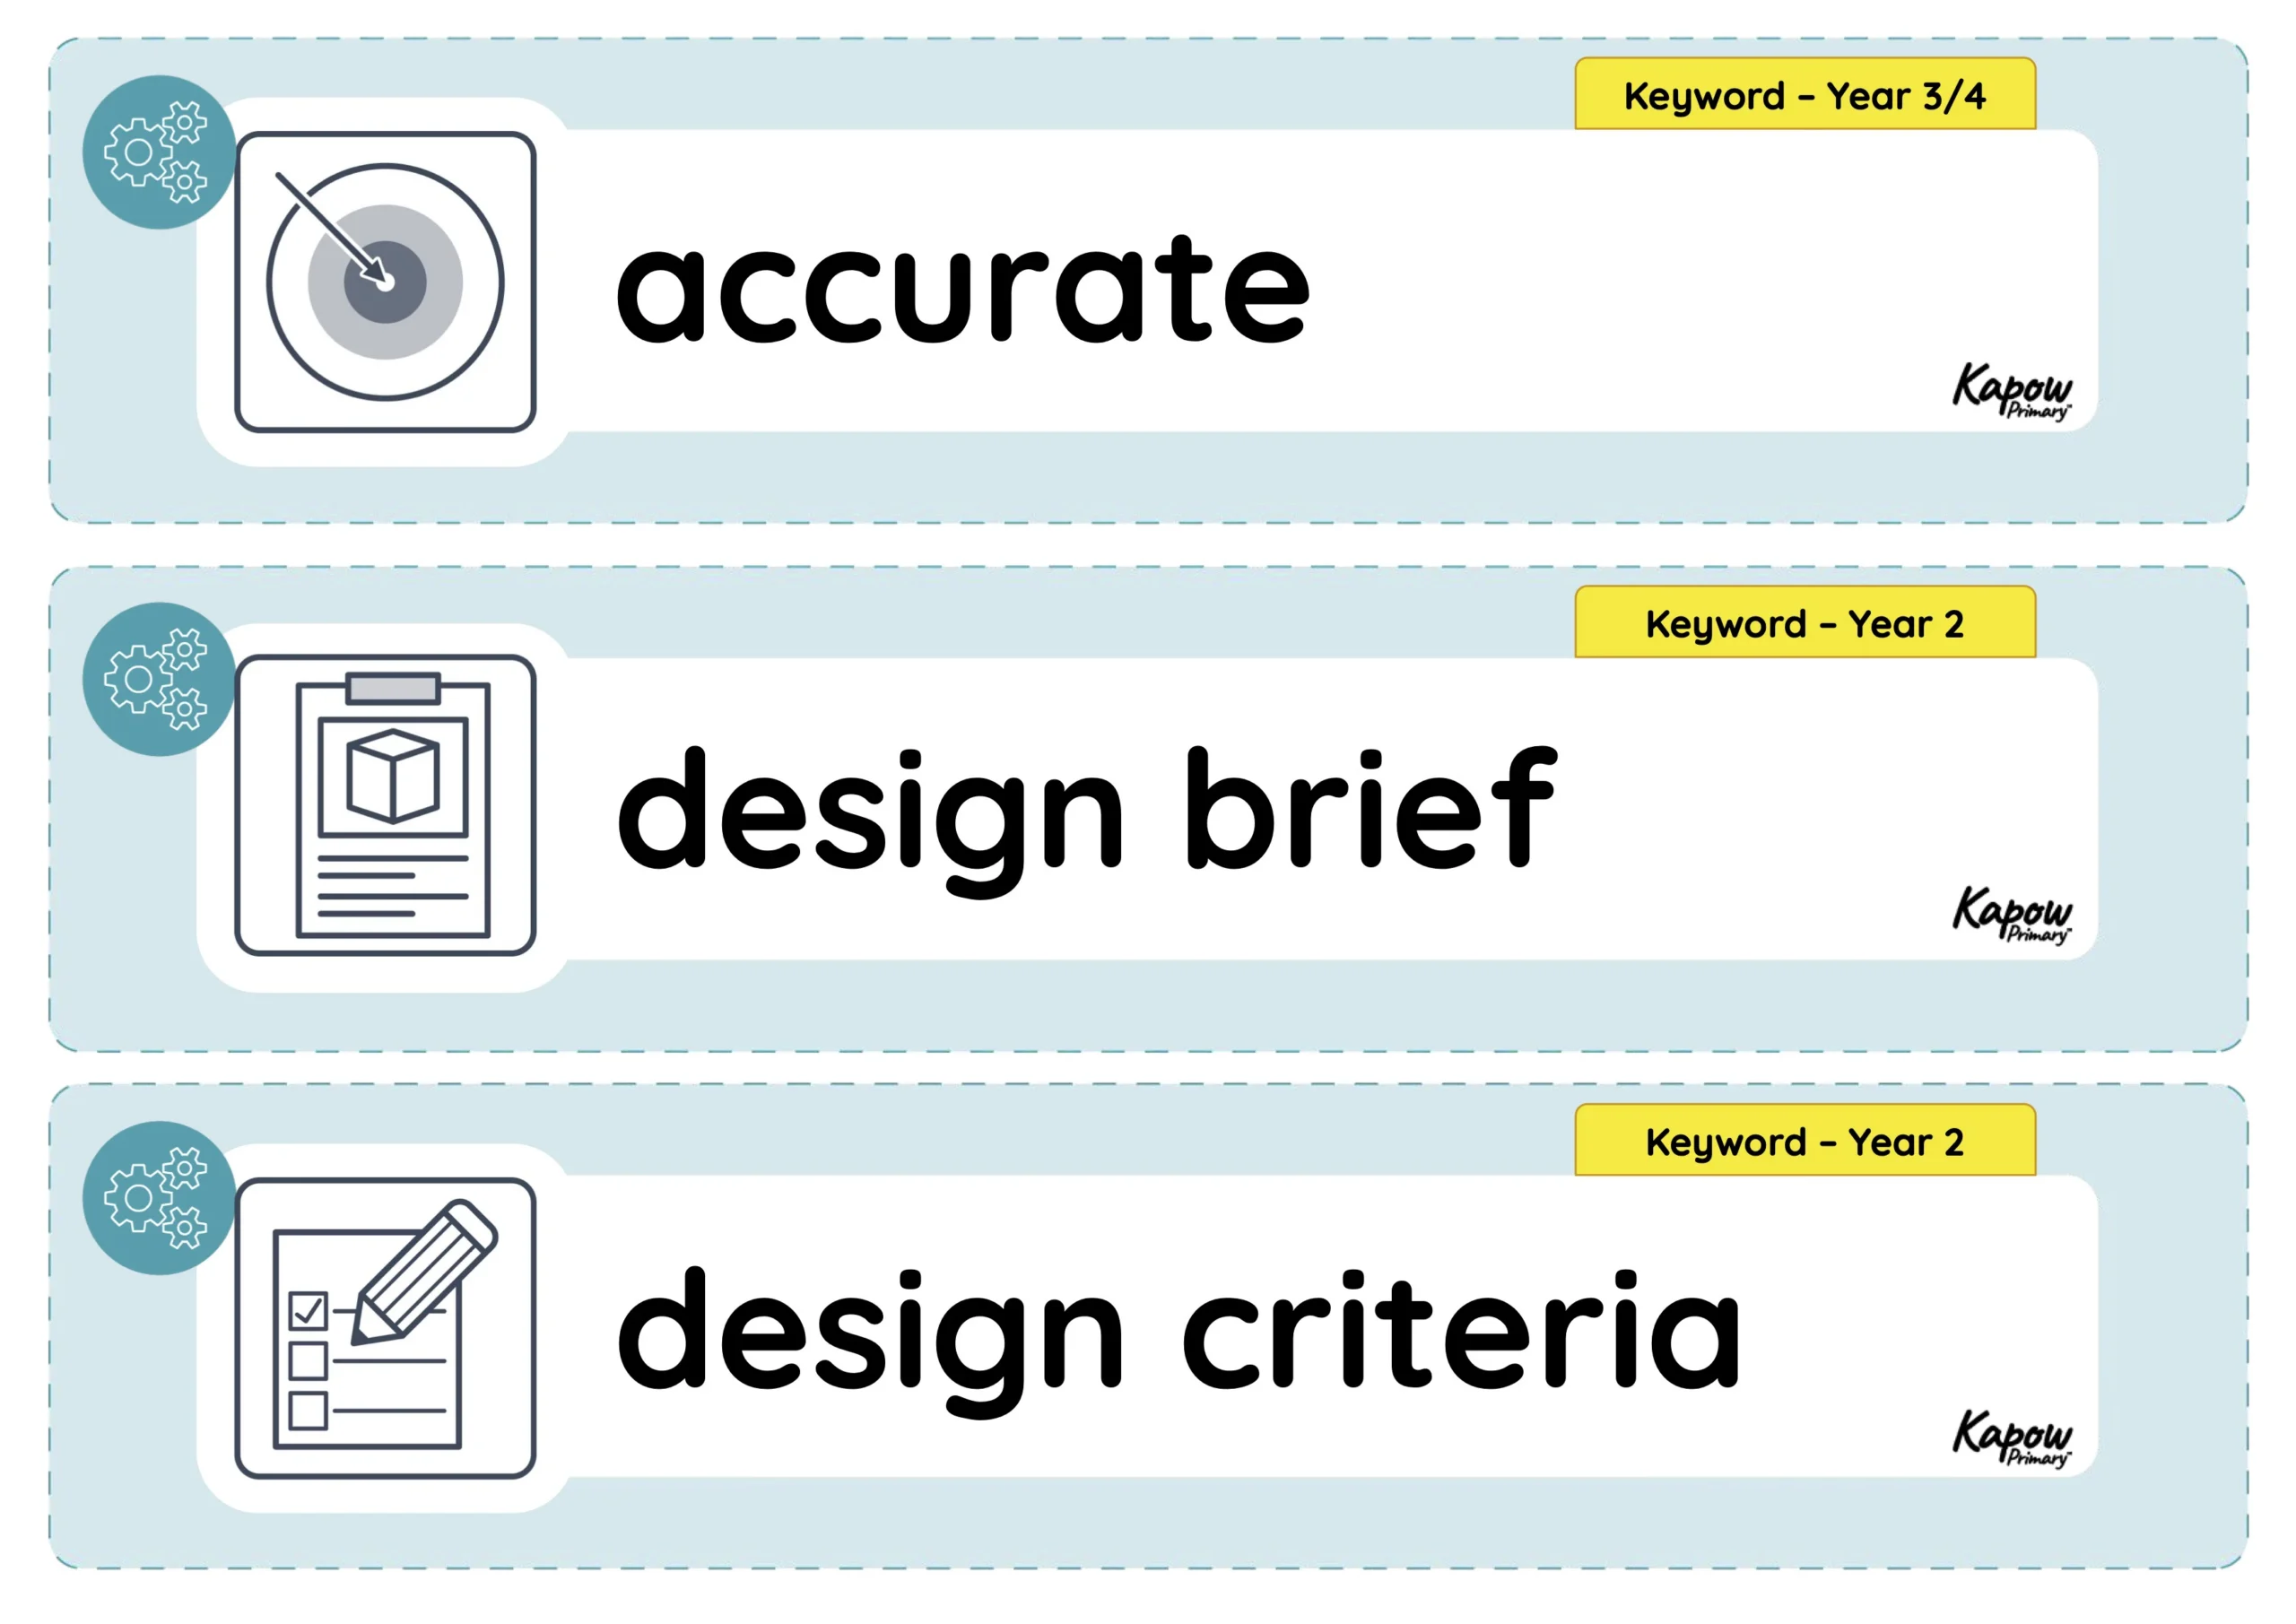
Vocabulary display – D&T Y3: Mechanical systems: Making a moving monster
A display version of the vocabulary from the unit 'Making a moving monster'.
Subject resources
This content is for subscribers only. Join for access today.
Cross-curricular opportunities
- Mathematics: Measurement; Geometry – properties of shape: applying understanding of length and width when investigating, comparing and making linkage mechanisms and using knowledge of 2-D shapes when designing and making a moving monster.
- Art and design: developing drawing and colouring skills when creating and finishing designs for a moving monster.
- English: Spoken language: asking questions to gather others’ opinions and discussing, explaining and justifying design choices.
Build on the learning
Mechanical systems: Pneumatic toys
Get started
Popular content
- Design and technology: Curriculum portal
- Design and technology: Curriculum information
- Y3 > Structures: Constucting a Castle > Lesson 3: Nets and Structures
- Y3 > Mechanical Systems: Pneumatic Toys > Lesson 1: Exploring Pneumatics
- Y4 > Textiles: Fastenings > Lesson 2: Designing my Book Sleeve
- Y4 > Electrical Systems: Torches > Lesson 3: Torch Design
