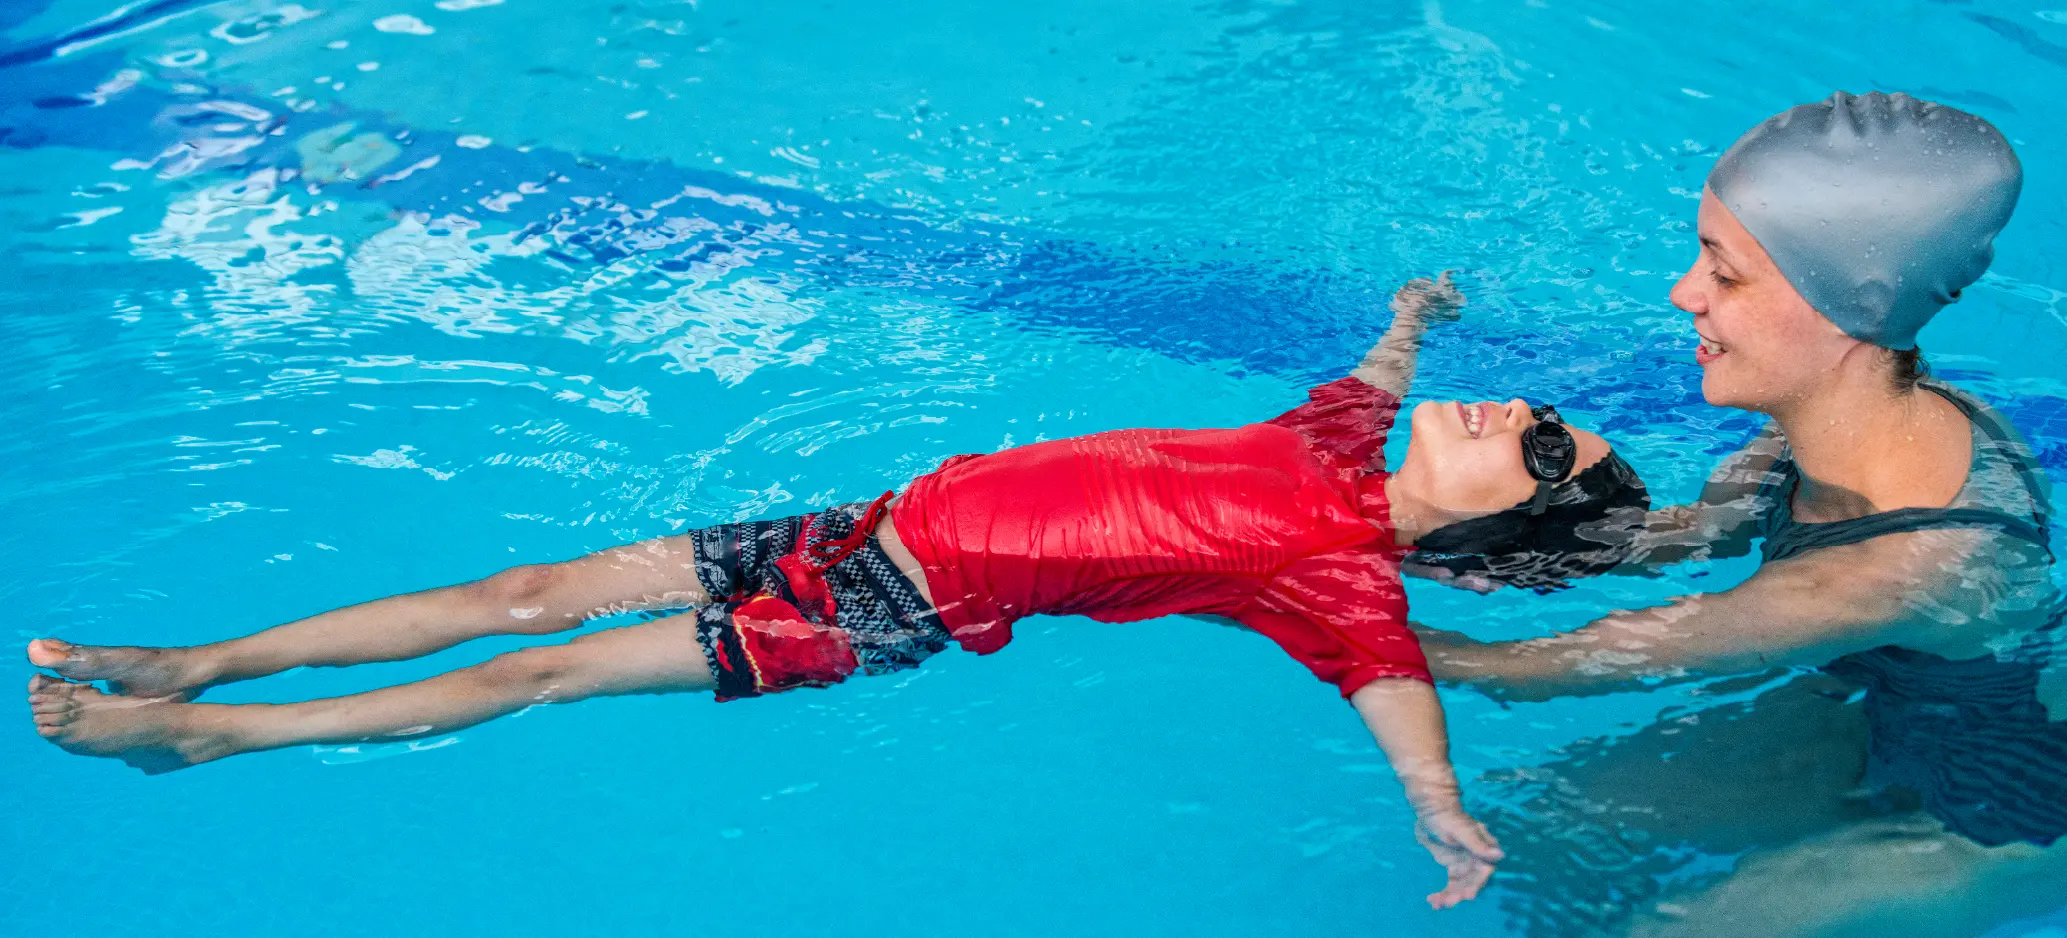
Lesson 4: Why can water be dangerous?
Explaining hazards in different water settings and identifying safe actions in an emergency.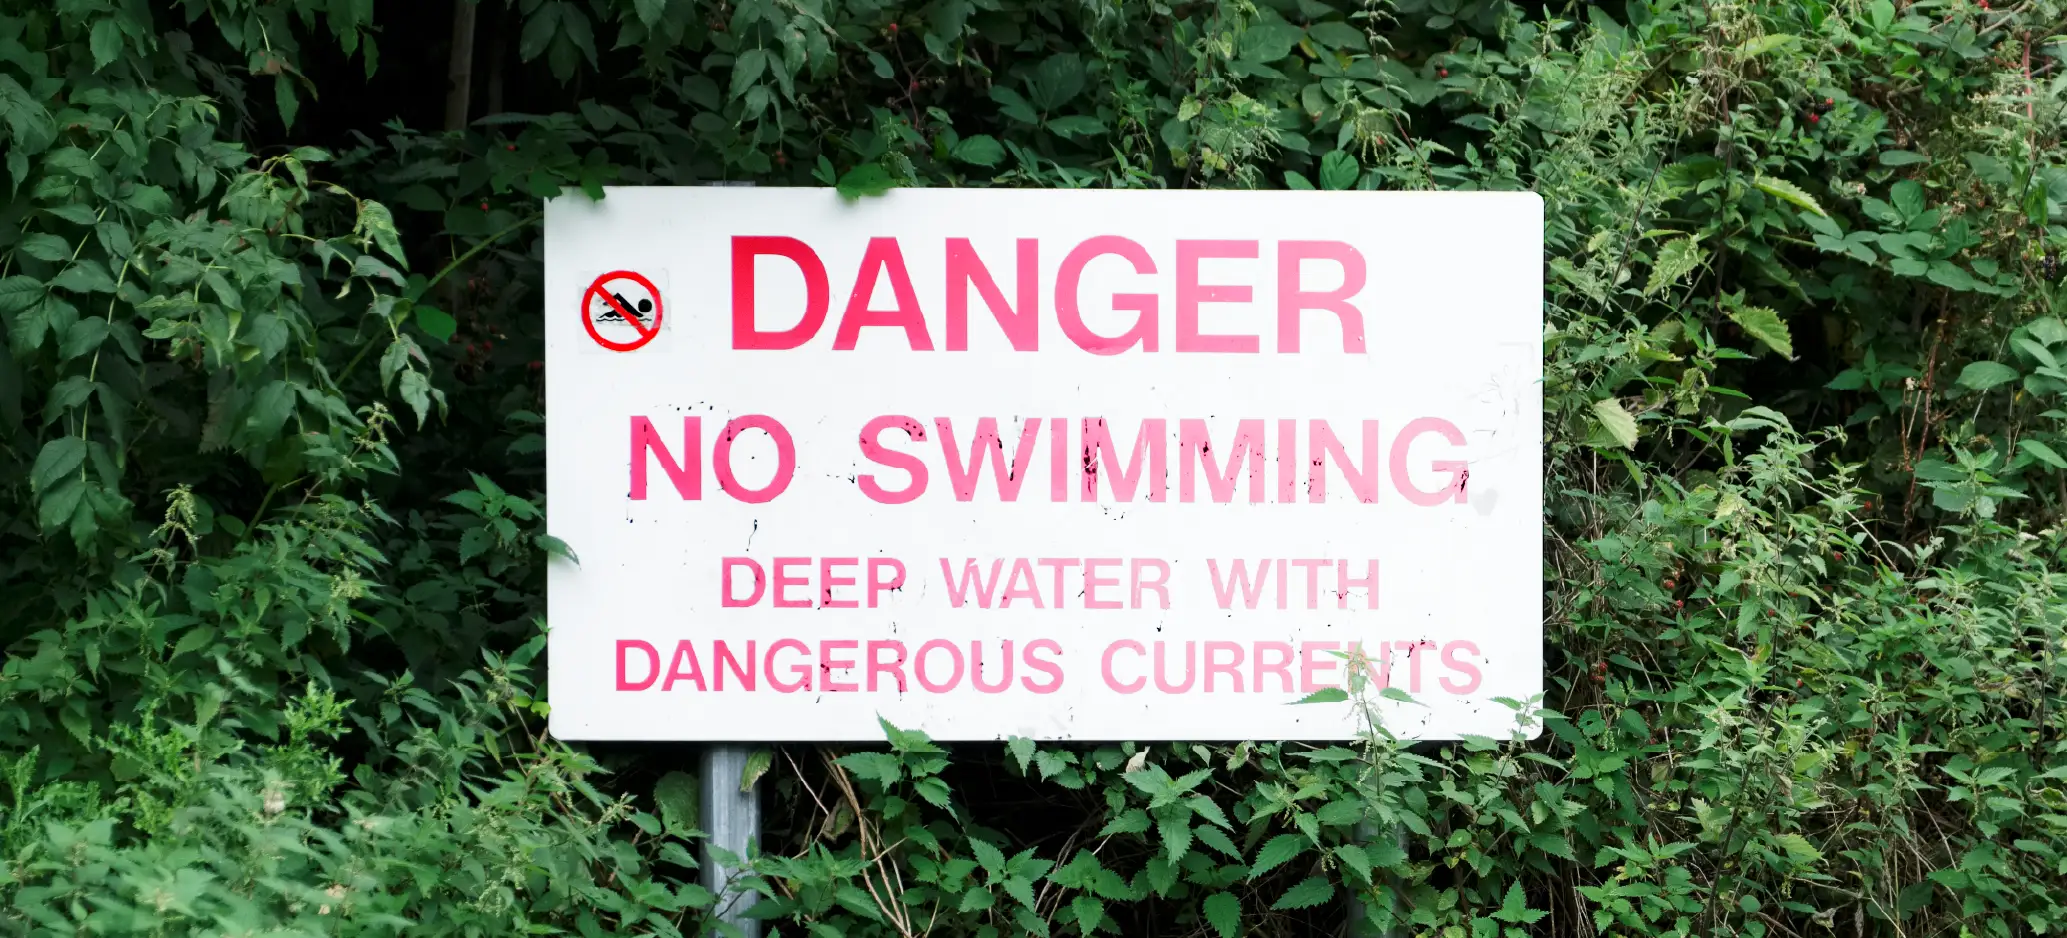
Learning objective
- To explain how to stay safe in, on and around water.
Success criteria
- I can identify hazards in different water settings.
- I can explain why these water hazards are dangerous.
- I can recognise common water safety signs.
- I can describe safe actions to take if I feel unsafe or if someone is in danger in water.
Before the lesson
Check all images, videos, links and presentation slides are suitable for your class.
Presentation: PSHE agreement (optional – see Teacher knowledge).
Presentation: Anagrams.
Presentation: Water safety.
Presentation: Water safety rules.
Whiteboards and pens.
Photographs of open water in the local area (optional – see Teacher knowledge).
Wonder box (see Wrapping up).
Subject knowledge
This lesson introduces aspects of the Water Safety Code but does not cover it in detail. The full guidance is taught in Upper Key Stage 2.
Water hazards are dangers in and around water that can increase the chance of harm. For example, steep or slippery banks, low temperature, hidden obstacles, reeds and weeds, dirty water, currents and the tide.
Different water settings carry different risks. Open water, such as rivers, lakes, canals and the sea, is not controlled like a swimming pool, so conditions can change and there may not be a lifeguard present. Water safety signs give warnings or instructions to help people avoid danger.
In an emergency near water, children should get help from a trusted adult or lifeguard straight away. If no adult is available, they should call 999 and explain what has happened, where it is and which emergency service is needed.
Explain that children should not enter the water to rescue someone. They should also not throw anything attached to a rope or pole into the water. They can help by throwing something that floats and is not attached to anything else, such as a ball, a large bottle or a branch.
Lifejackets and buoyancy aids are both personal flotation devices, but they are designed for different situations. A lifejacket is designed to keep a person afloat and can turn an unconscious person onto their back to help keep their airway clear. A buoyancy aid helps a person stay afloat but does not turn them onto their back. The most appropriate device depends on the activity, environment and conditions.
Misconceptions
The children may think that:
‘If water looks calm, it is safe’ — hazards such as depth, cold temperature, current and tide can make water dangerous even when it looks calm.
‘Drowning always looks loud and obvious’ — drowning can be quick and quiet, so it may not look like shouting or splashing.
‘If someone is in trouble, I should jump in to help’ — children should not enter the water. They should get an adult or a lifeguard, call 999 and throw something that floats.
‘Water safety signs are only suggestions’ — signs give important warnings and instructions that help prevent accidents.
‘A lifeguard will always be there at the seaside or near water’ — lifeguards are not present at all locations or at all times, so pupils should always choose safe actions and get help quickly.
Lesson organisation
Uploading images to a presentation
This lesson has the option to upload an image of the class’s PSHE agreement to the Presentation: PSHE agreement.
Open Presentation mode.
Prepare the lesson with the chosen resources.
Select the cloud icon.
Select the ‘Upload image’ button and choose the saved image.
The image will appear in the Presentation: PSHE agreement to display within the lesson.
Open water images
During the Attention grabber and Main event 'Hazard, risk, action!' game, photographs of open water in the local area could be used in addition to the examples provided. For the Attention grabber, they could be uploaded as additional slides when preparing Presentation mode. For the 'Hazard, risk, action!' game, these would need to be printed and added to the Activity: Hazard, risk, action cards.
Examples could include:
Canals, rivers and streams.
Beach and coastal areas.
Lakes and reservoirs.
The information within this section provides basic generic guidance only and is not tailored to the circumstances of your school or class. You must ensure you refer to and follow your own school’s health & safety policy and complete any necessary risk assessments. It is the teacher’s responsibility to check all resources and lesson content to ensure it is suitable for their class setting.
If you know a child has specific issues, consider discussing the lesson with them in advance and adapting it as needed. They might benefit from adult support. If problems emerge during the lesson, consult your Senior Leadership Team. It is the teacher’s responsibility to check all resources and lesson content to ensure it is suitable for their class setting.
Sensitivities
Water safety
Some children may feel anxious when discussing drowning, water rescues or calling 999. Reassure pupils that the purpose is to help them stay safe. Most risks can be reduced by spotting hazards and following rules and, if an accident does happen, they should get adult help quickly rather than attempting a rescue themselves.
Some children may have personal experience of water-related accidents, loss or traumatic events. Remind children they can use the wonder box or speak to a trusted adult privately if the content worries them.
Some children may have limited experience of different water settings or may not be able to swim. Use clear images and avoid assuming prior knowledge or confidence around water.
Hazard perception
Some pupils may have additional needs that affect hazard perception, attention or processing speed. Provide extra thinking time, minimise sensory overload and offer structured prompts or a simplified role in group tasks.
Lesson plan
Optional: remind the children of the PSHE agreement created in the Introductory lesson: Setting rules for RSE & PSHE lessons and recap the agreed rules. If needed, upload an image of the agreement to the Presentation: PSHE agreement.
Explain that the children will work with a partner to recall and expand on key facts from the last lesson. Show the Presentation: Tell me more and read the two facts aloud. Allow time for a paired discussion. Encourage the children to turn each statement into a longer sentence by adding a reason, example and key vocabulary.
Take feedback. The children may suggest:
“At a zebra crossing, you should stop at the kerb, look both ways and wait for the cars to stop before you cross.”
“A pelican crossing has lights. You press the button and wait for the green man, then cross safely.”
“One risk is cars not seeing you, especially if your visibility is low when it is dark.”
“Another risk is being distracted, like using a phone or listening to music when crossing the road.”
“You should always stop at the kerb, look and listen before crossing, even if there is a crossing.”
“If there is an emergency, you can call 999 and speak to the operator to get help from the emergency services.”
“Cyclists and people on scooters also need to watch for cars and pedestrians because they can cause a risk if they go too fast.”
Review the three key steps to take when making sure we are safe:
Spot the hazard.
Understand the danger.
Choose a safe action.
Pair the children and hand out a whiteboard and a pen to each pair. Show the Presentation: Water safety.
Show slides 1–6. Ask each pair to write the hazards and warning signs they spot on each slide on their whiteboards. After each slide, take feedback and discuss the hazards and risks that are linked to them, ensuring that a mixture of both visible hazards such as slippery rocks or warning signs and hidden hazards such as the depth (how deep the water is) and temperature (how hot or cold the water is) are explored.
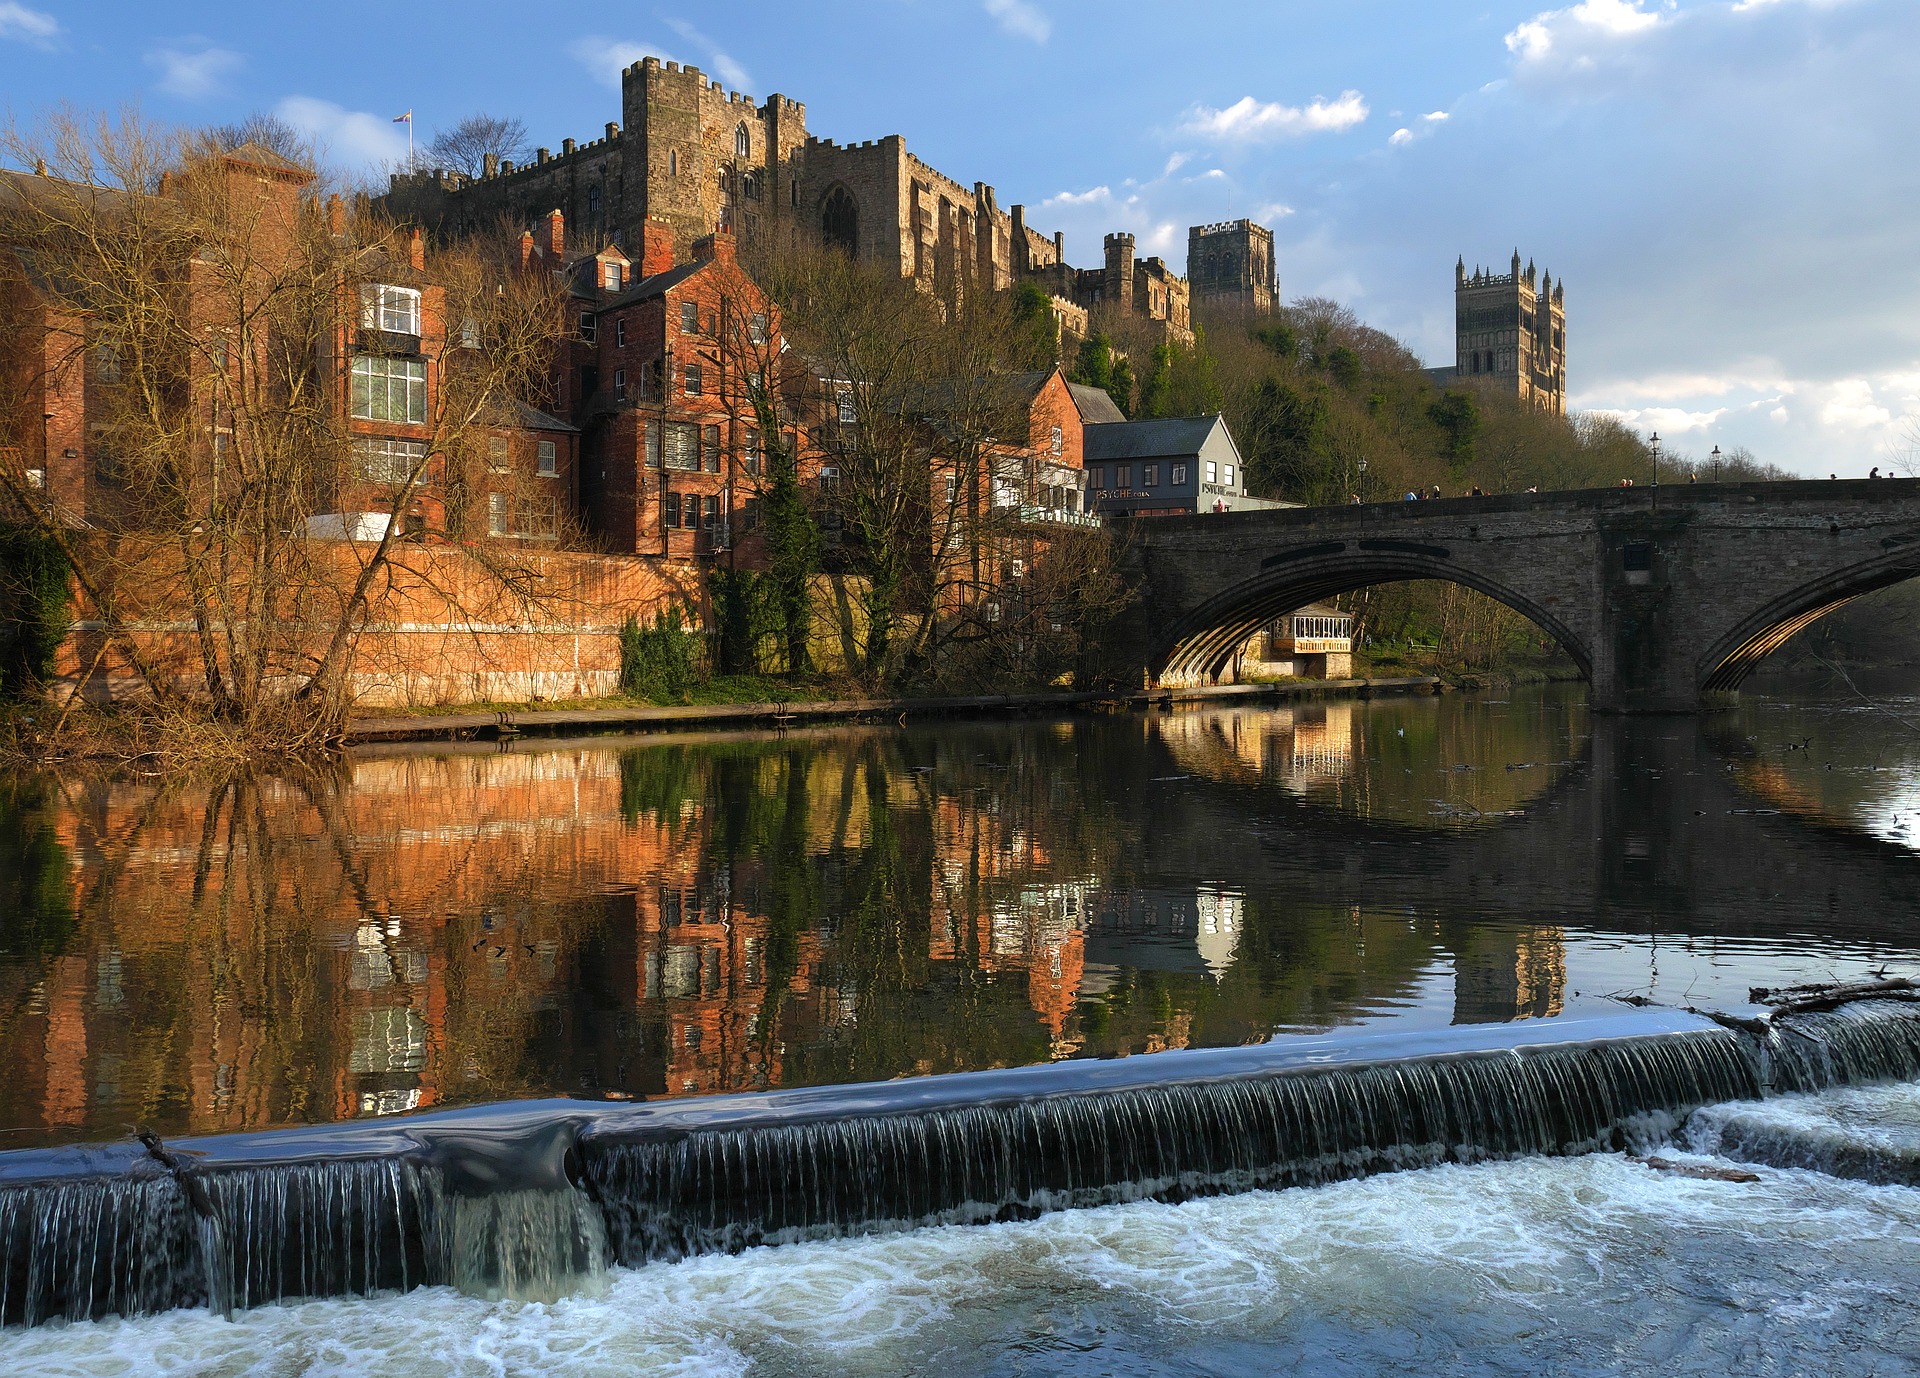
Explain that all of the examples we have seen are open water, meaning water where people might swim, which is not a swimming pool. Share that at the seaside, the tide (rising and falling of the sea level across the day) can change the water level.
Optional: show some images of open water in the local area and ask the children what hazards they can spot (see Teacher knowledge).
Point out that every water source carries different risks, even if it looks the same as somewhere else or is somewhere we have visited before.
Show slide 7.
Ask:
What hazards or risks would you find at this swimming pool that are similar to those in the water sources we have already looked at? (Answers may include: slippery surfaces, meaning you could fall into the water or hurt yourself on the hard floor; deep water where you may not be able to touch the bottom; you cannot tell the temperature until you get in and it may be colder than you expect, which could be a shock.)
Do all swimming pools have the same hazards and risks? (No, some pools are not very deep, so you can always touch the bottom; some pools have lifeguards, but others do not.)
Click to reveal Daniel's top two tips for staying safe around water.
Remind the children that, like every other situation we look at in this unit, we do not need to be afraid of it; we just need to be prepared and follow the steps:
Spot the hazard.
Understand the danger.
Choose a safe action.
1. Explain that there are ways to stay safe in, on and around water that follow the Water Safety Code. Show the Presentation: Water safety rules.
Use slides 1–6 to share the key rules for how to stay safe in water. Define the following terms as they are mentioned:
Drowning: not being able to breathe in water.
Lifeguard: a trained adult who keeps people safe in the water.
2. Pair the children and tell them they will play a game called 'Hazard, danger, action!'
3. Hand out the Activity: Hazard, danger, action cards. Show slide 6 and explain the rules of the game modelling each one with a child as you read it out loud.
4. Circulate around the class as they play and support as needed.
Optional: add some photographs of open water in the local area to the Activity: Hazard, danger, action cards (see Teacher knowledge).
Ask the children to stand up. Read aloud a scenario from the Resource: Hazard or not. Ask the children to wiggle their bodies if they think the situation is hazardous or sit back down if it is safe. Between each scenario, allow time for the children to explain the hazards to their partner.
Remind the children that, although they know how to stay safe in water, they should never enter the water without an adult nearby.
Give the children time to reflect on the enquiry question: Why can water be dangerous?
Wonder box
Remind the children to use the wonder box if they have any comments or questions. Explain that if they need an adult to help them, they should write their name or initials on their note.
Full-screen slides, ready for your classroom, chosen by you.
- To explain how to stay safe in, on and around water.
We value your feedback
We welcome your feedback to help make our resources even better
In this unit