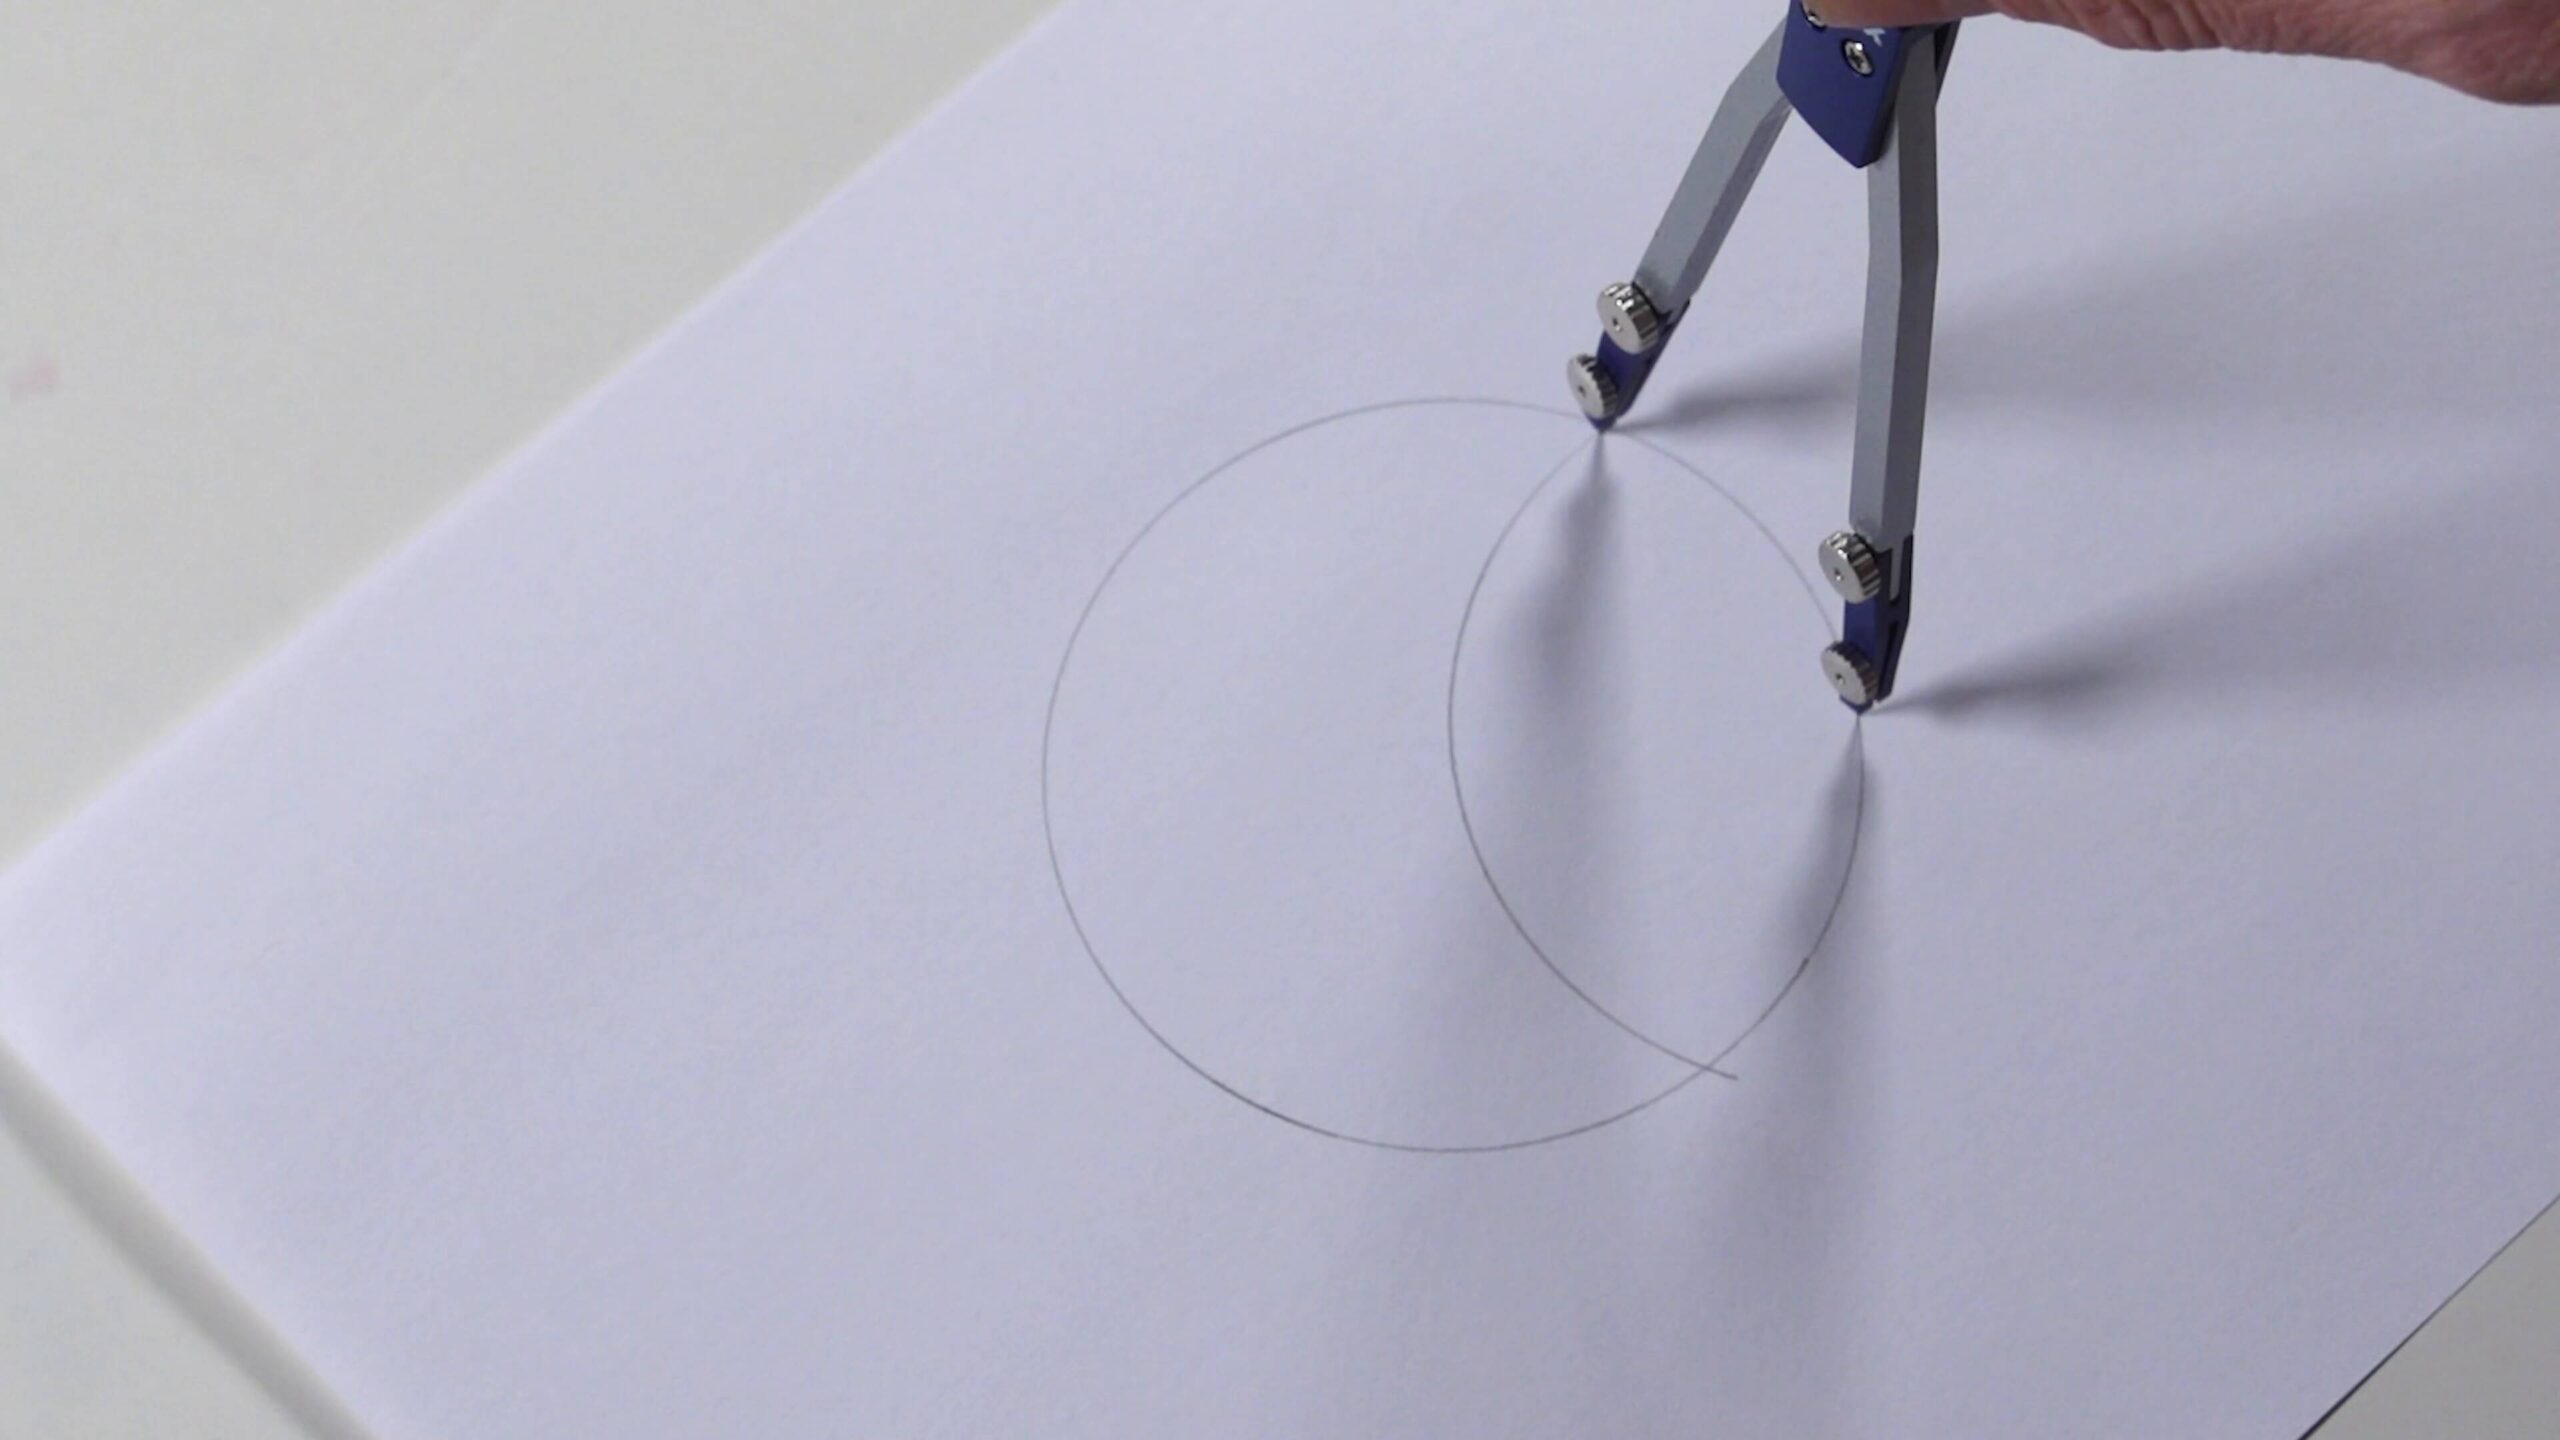
This archived Art and Design scheme of work video is part of a lesson in which pupils learn how to draw the ancient seven-circled pattern known as the Flower of Life.
Children begin by learning how to use a compass safely, ensuring the pencil is level and the point pressed firmly onto the paper. With guidance, they draw their first circle in the centre of the page before adding further circles by placing the compass point on the edges of each new arc. Repeating this process gradually builds the Flower of Life pattern. Once complete, pupils can colour their design to enhance the geometric shapes. More confident learners may extend the pattern by continuing to link circles, creating an infinite design. By the end of the lesson, children will have practised precision with drawing tools and explored how geometry can be used to create striking patterns.
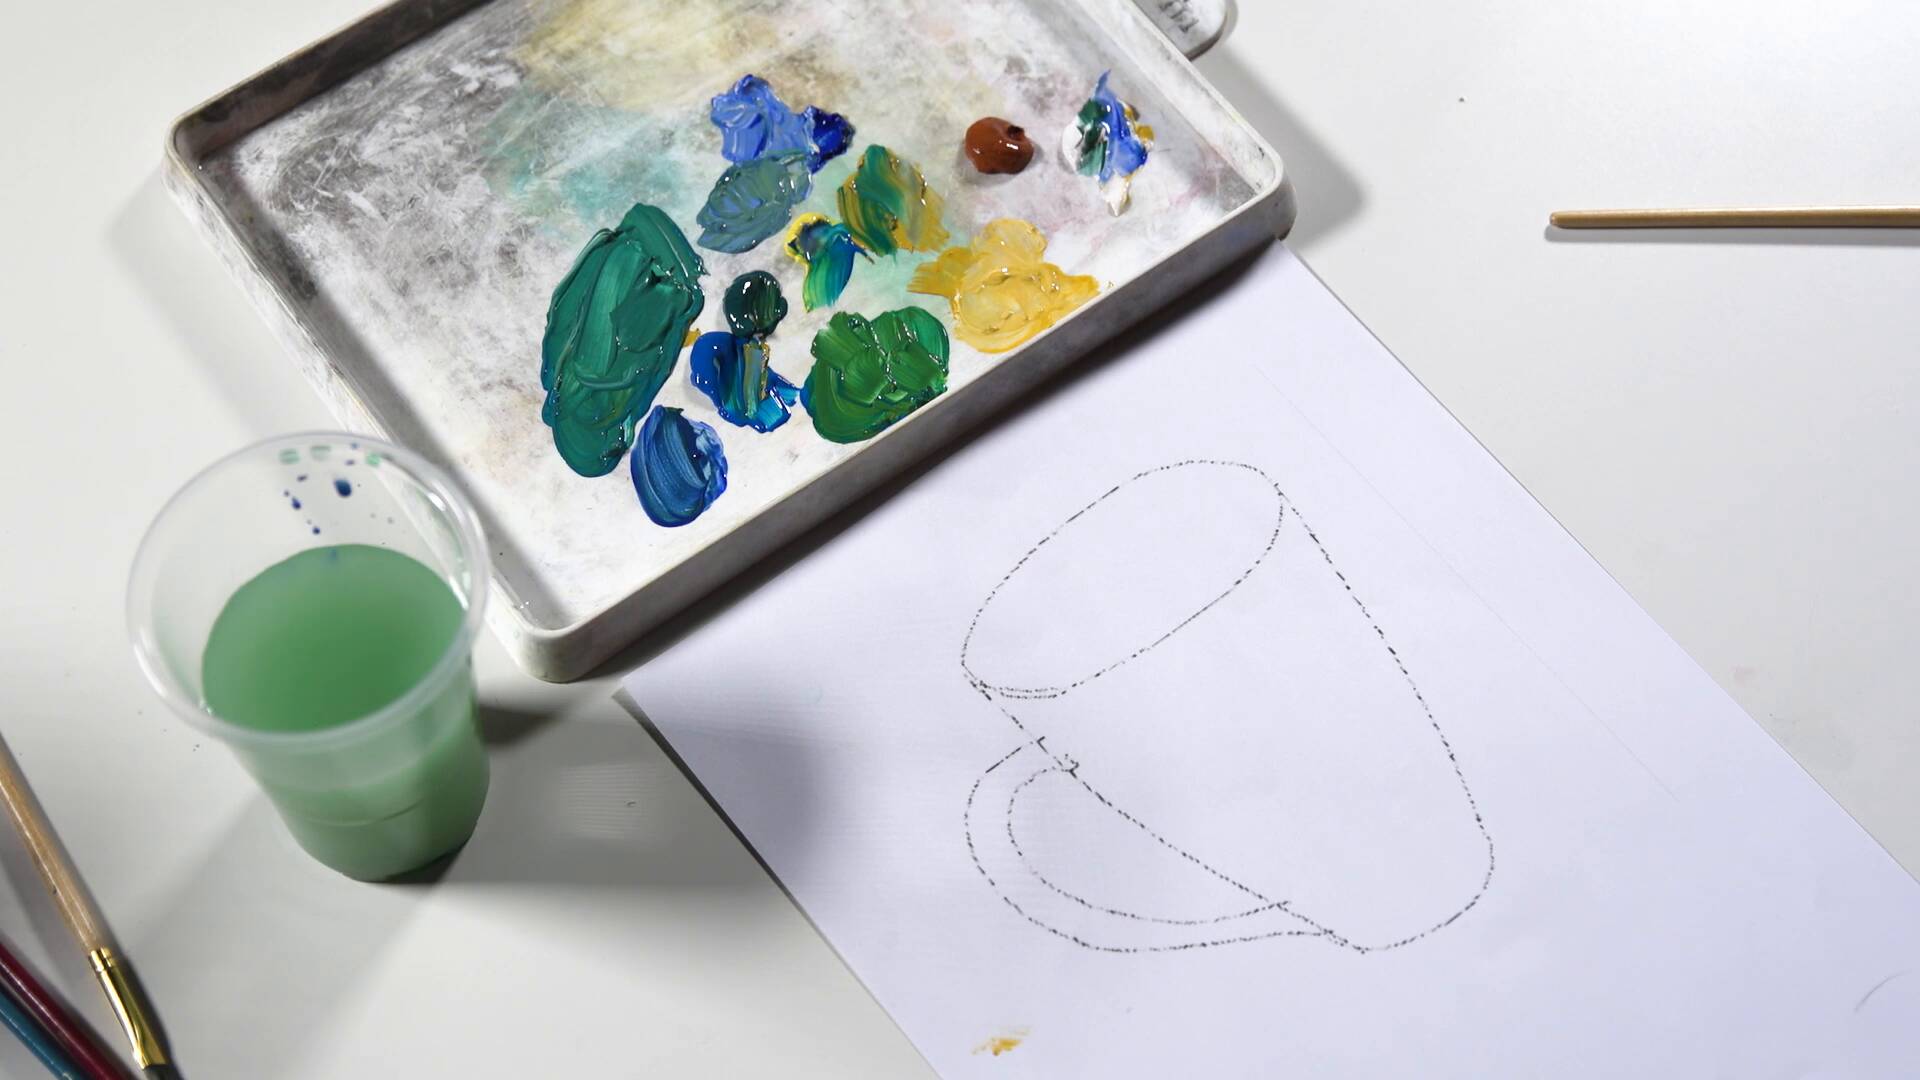
This archived Art and Design scheme of work video is part of a lesson in which pupils develop expressive painting techniques inspired by the artist Paul Cézanne.
Children begin by studying a detail from the painting ‘Mont Sainte-Victoire’, identifying secondary colours within the painting. Using their palettes, they practise mixing these more complex colours, testing and refining them until they are satisfied. Pupils then mix at least four secondary colours to use in their own artwork. With either a provided template or their own drawing, children paint an object using Cézanne’s distinctive style. They apply short, angular brushstrokes, layering colours and overlapping strokes so no white paper remains. This block-like technique gives their paintings a textured, dynamic effect.
By the end of the lesson, pupils will have strengthened their colour-mixing skills, experimented with brush control, and gained insight into how Cézanne created his expressive works.
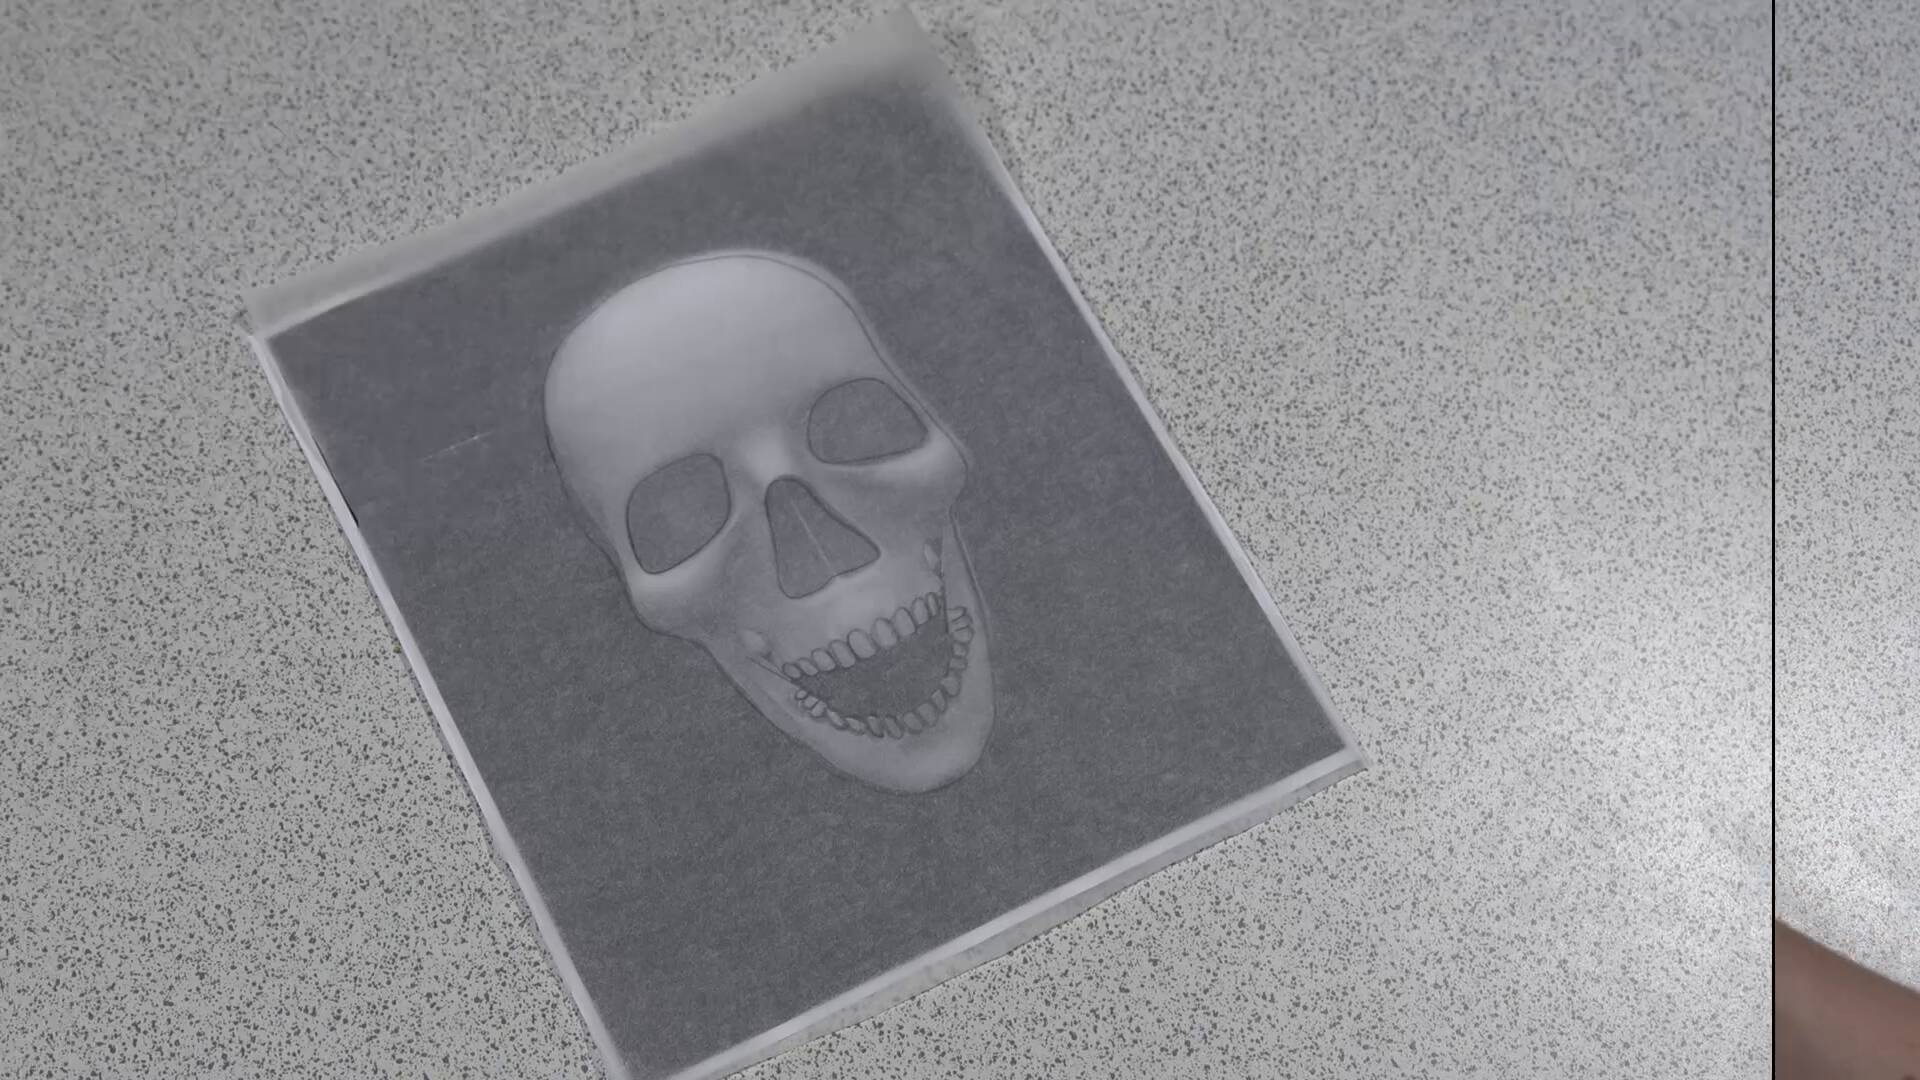
This archived Art and Design scheme of work video is part of a lesson in which pupils explore the structure and features of the human skull while developing their observational drawing skills.
Children begin by examining a skull model or image, tracing key features with their fingers to understand its form. They then place tracing paper over the image, sketching the outlines lightly in pencil before going over them in felt tip. Photocopies of these tracings provide the starting point for creative experimentation. Pupils can choose to shade their skulls with pencil, add tonal effects with charcoal and chalk, or use oil pastels and crayons to create bold, colourful designs. By the end of the lesson, they will have produced a range of expressive skull artworks, building confidence in both observation and technique.
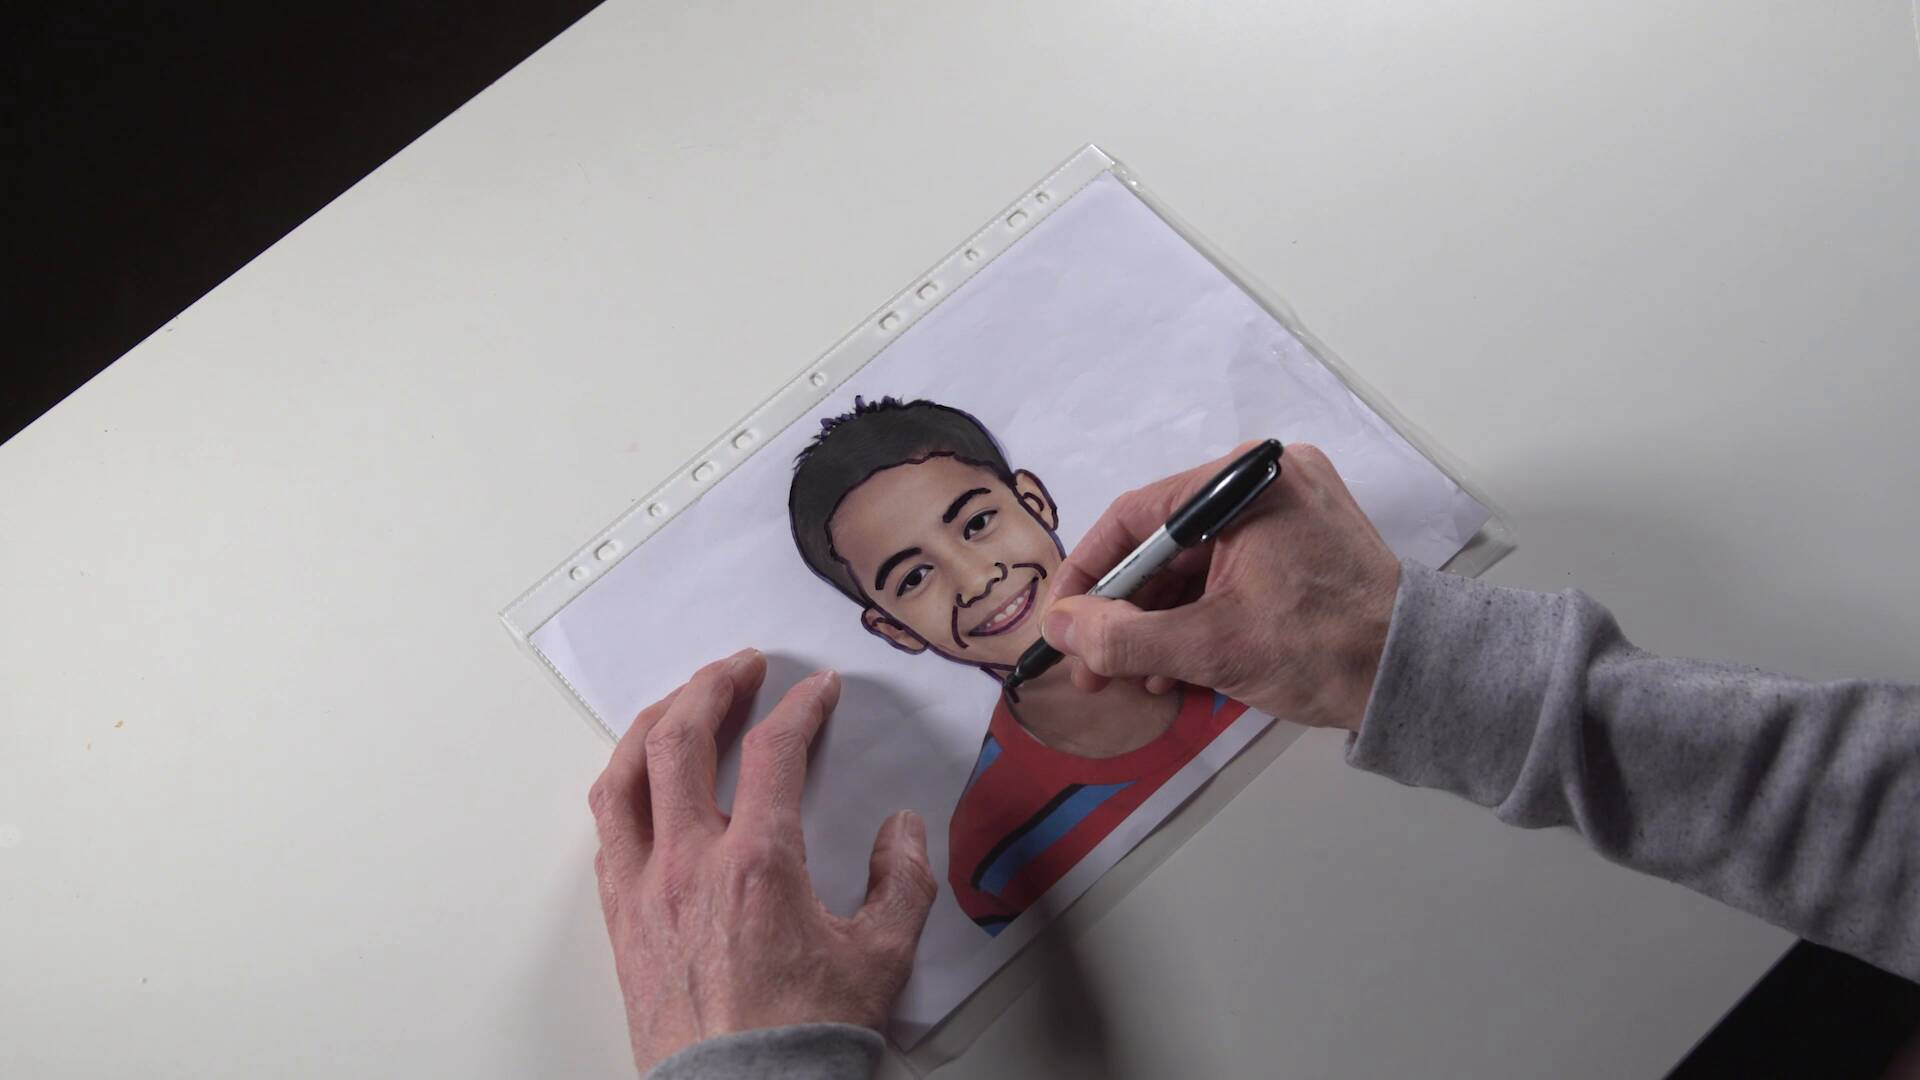
This archived Art and Design scheme of work video is part of a lesson in which pupils transform photographs into portraits inspired by British artist Julian Opie.
Children begin by tracing around a photograph placed inside a plastic wallet. Using only their fingers to guide them, they identify where Opie would use strong, simple lines and trace along these shapes. With marker pens, pupils outline features, reducing them to the distinctive dots and lines of Opie’s style. Once complete, the photograph is removed and replaced with white or coloured paper, creating a bold Opie-style portrait. More confident pupils may extend their work by adding blocks of colour with paints, pens or cut paper. Through this activity, children learn how artists simplify and stylise features to create a unique visual language.
This archived Art and Design scheme of work video is part of a lesson in which pupils create peg figures, combining craft skills with imagination and storytelling.
Children begin by making a figure from a wooden peg and pipe cleaner, twisting the arms into place and adding details such as hands, hair, or facial features. They can draw directly onto the peg or use paper, string, wool, or fabric to decorate. Pupils then personalise their figures by designing clothes and accessories, using markers, fabric, paint, or glue.
To extend the activity, children can create a setting for their peg figures using everyday materials, before writing a short paragraph to describe their character or scene. This lesson develops fine motor skills and encourages pupils to express creativity through both art and narrative.
Children begin by examining everyday objects and identifying the spheres, cones, cylinders, and rectangles within them. They practise lightly sketching or tracing these basic forms, focusing on outlines rather than detail. Pupils will then go on a walk around the school, where they look closely for shapes in real objects and record them in their sketchbooks.
Back in class, children reflect on their findings and discuss how complex objects can always be broken down into simple shapes. By learning this skill, pupils understand that accurate drawing starts with geometry, giving them a strong foundation for adding detail later.
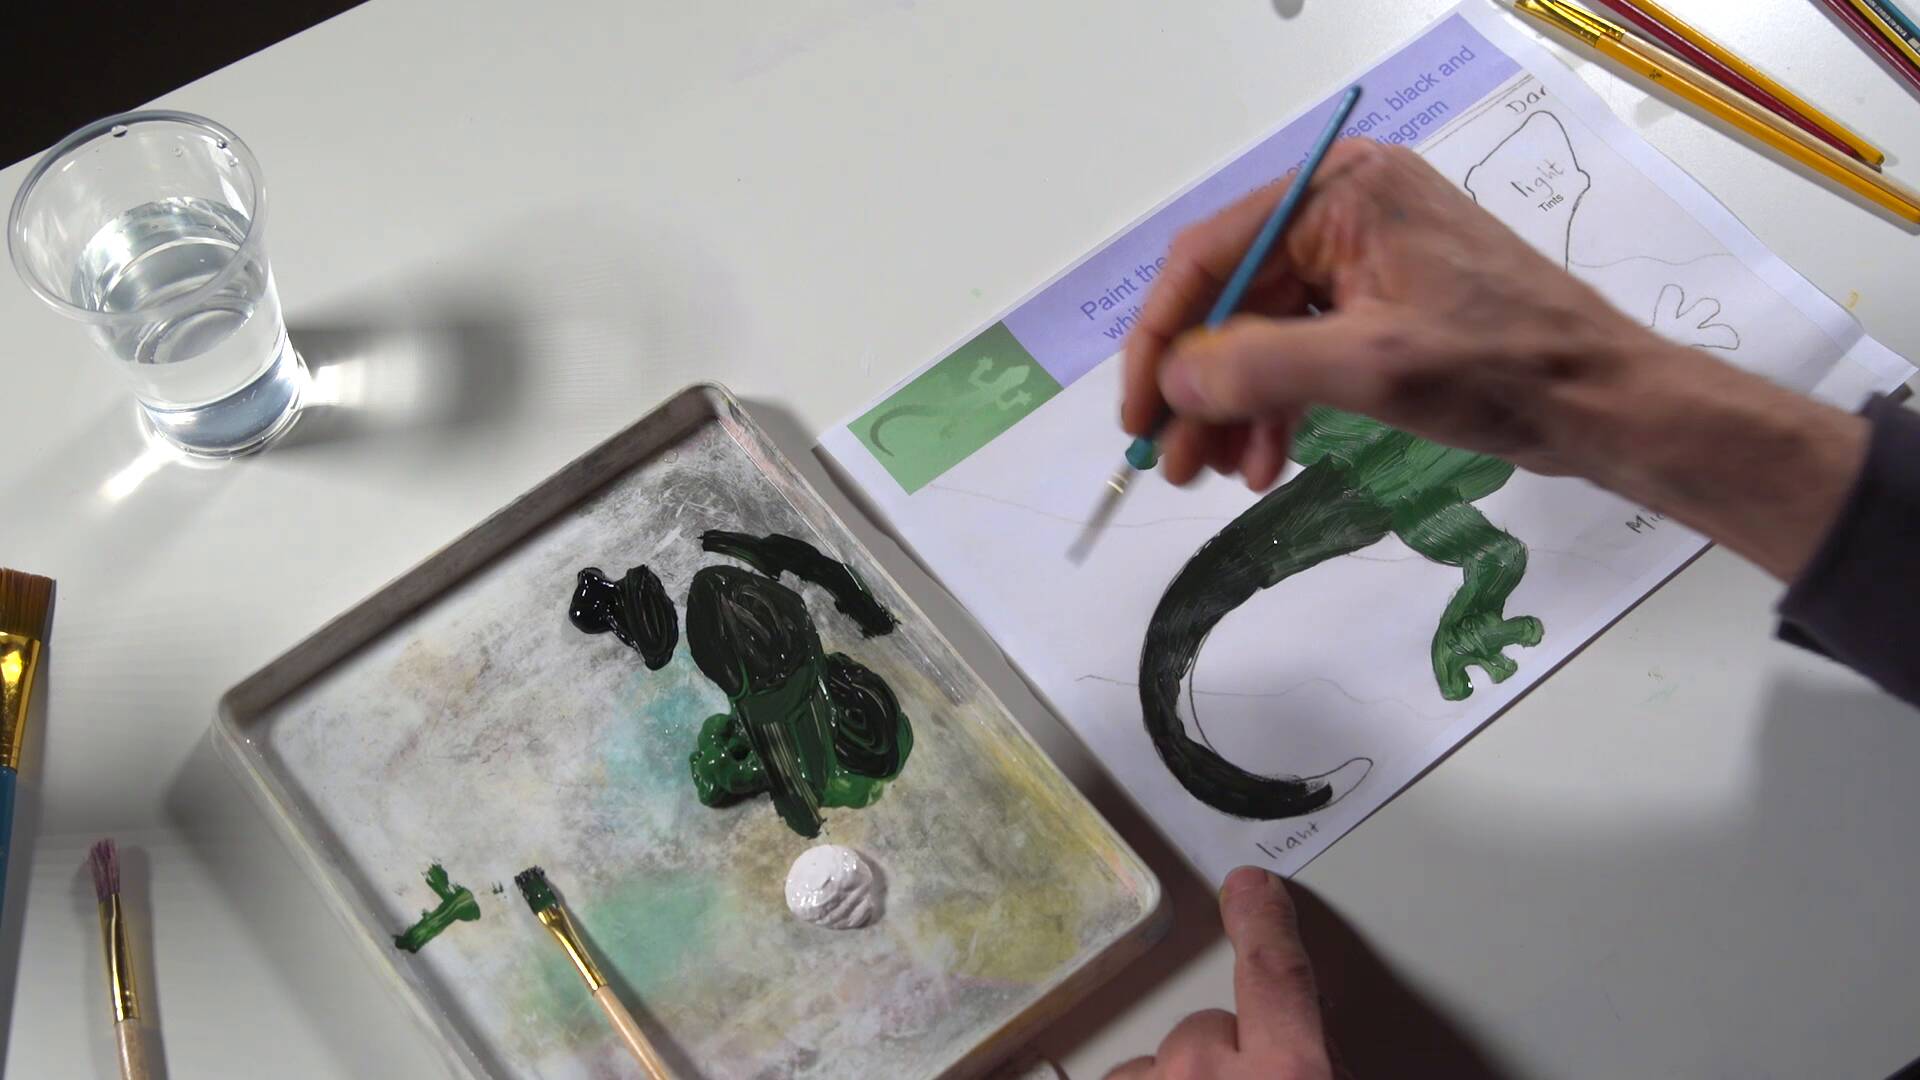
Children begin by painting an animal template, mixing a base colour with black to create darker shades and with white to create lighter tints. They will gradually build layers, blending each section smoothly so the tones flow together. Pupils are encouraged to work neatly, paying attention to edges and transitions. Once the animal is complete, pupils extend their learning by painting the background in contrasting tones, reinforcing their understanding of light and dark balance. By the end of the lesson, children will have practised mixing colours, blending smoothly, and applying paint with control to create effective tonal variations.
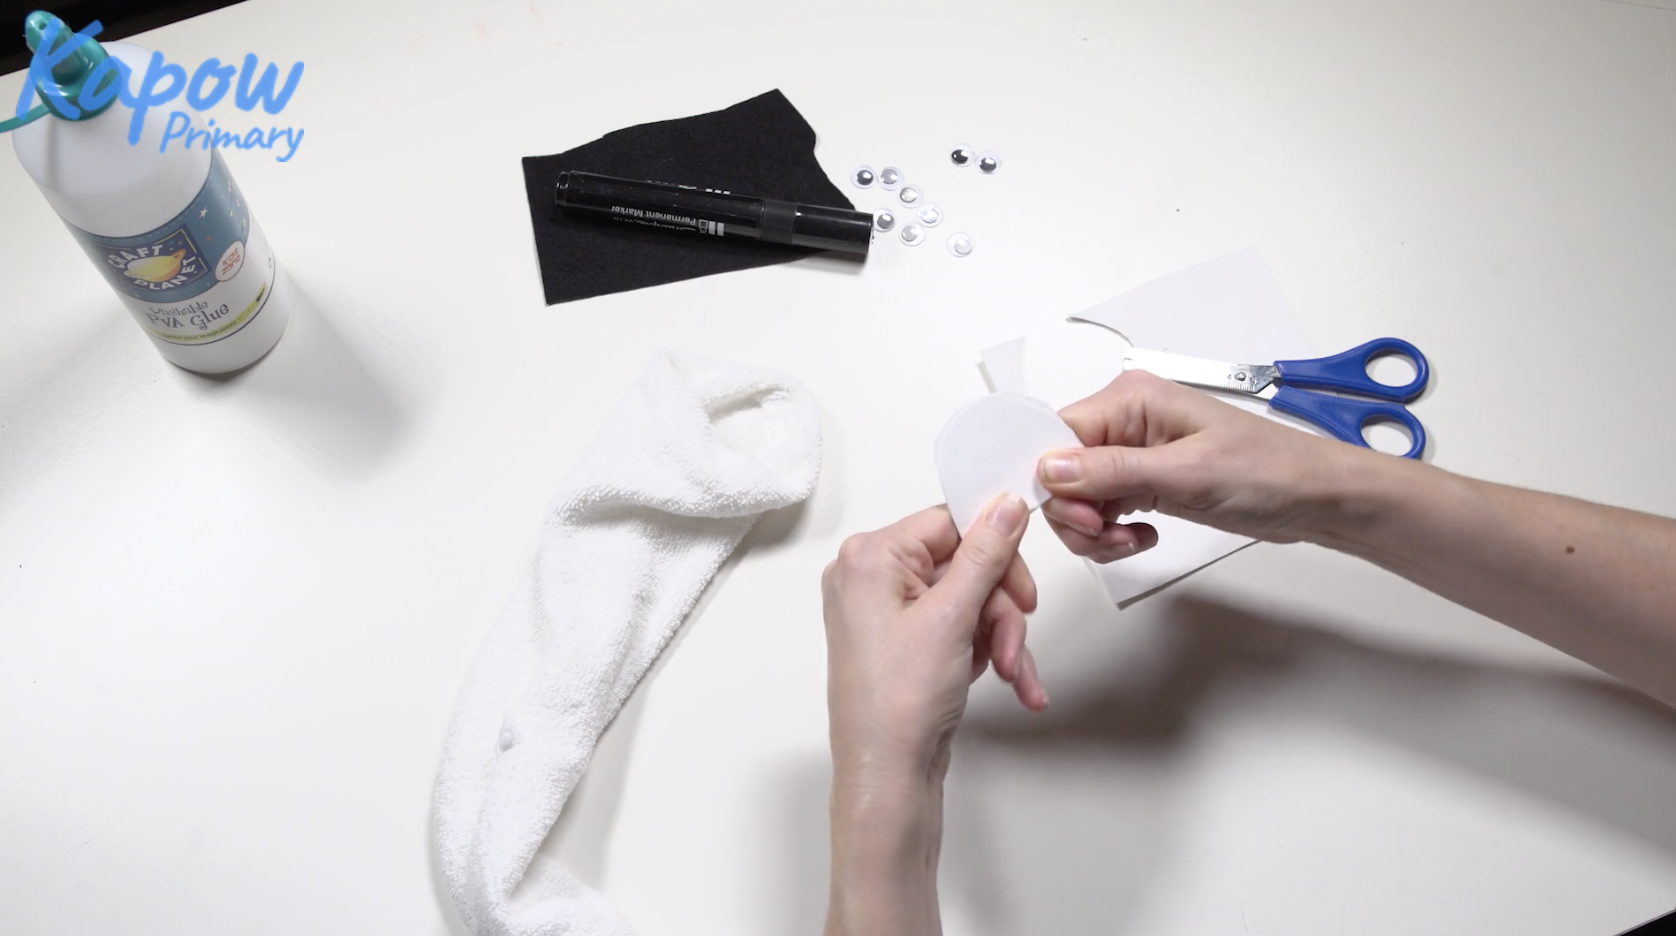
This archived Art and design scheme of work video introduces teachers to the second lesson in a puppet-making series, where Key stage 2 pupils create imaginative sock puppet characters.
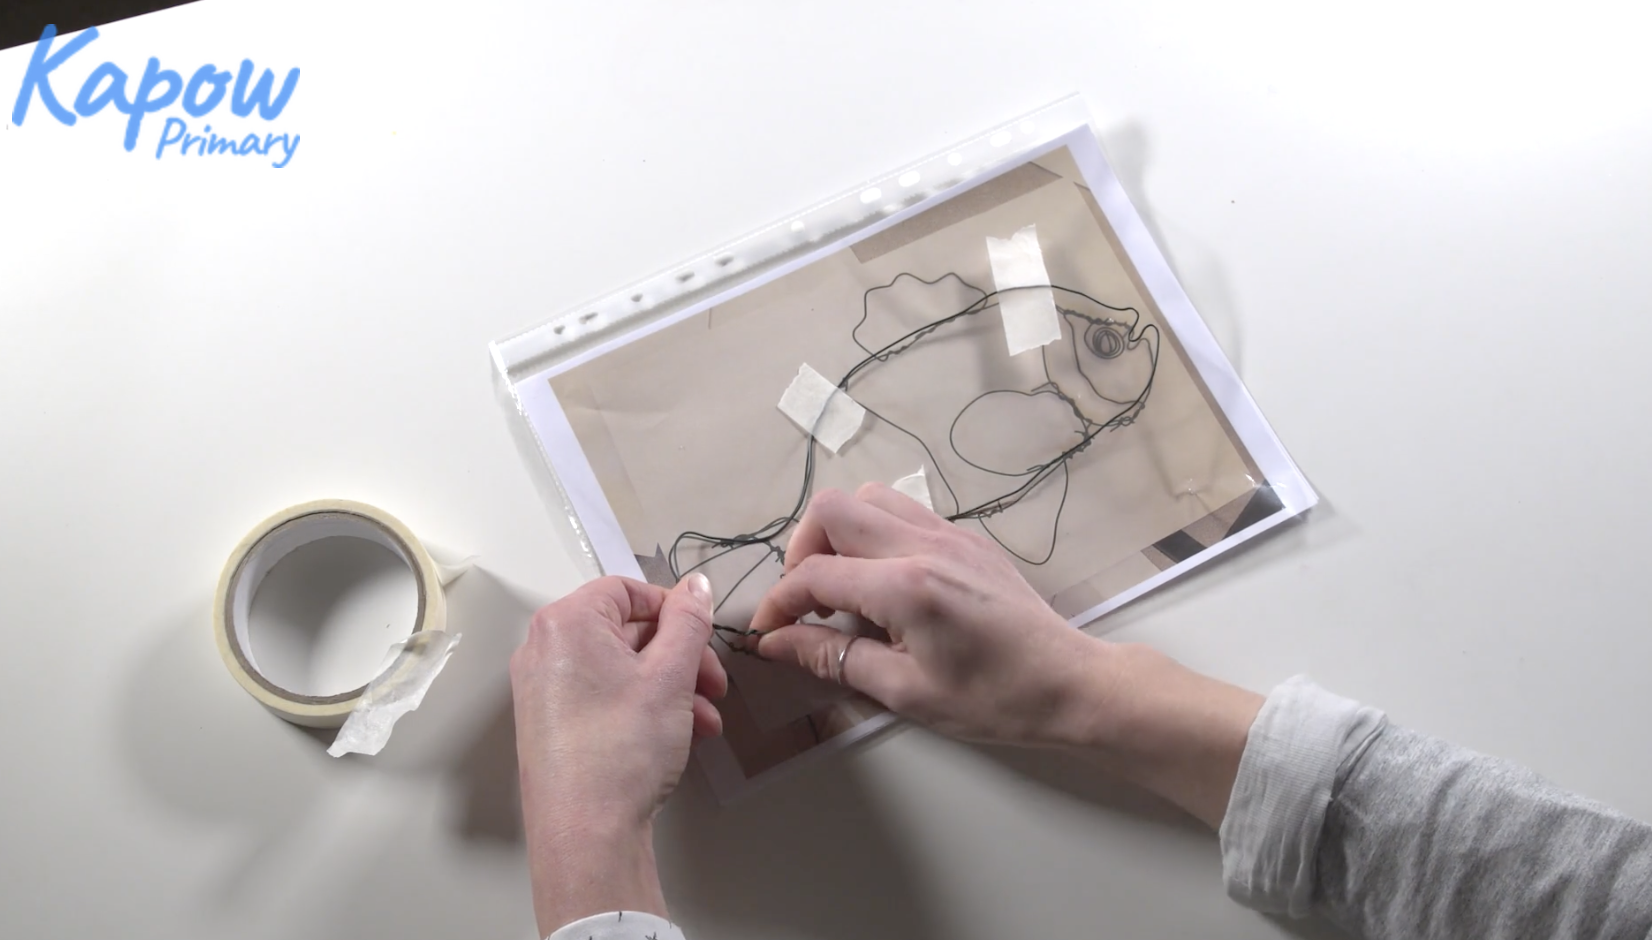
This archived Art and design scheme of work video introduces teachers to a sculpture lesson where Key stage 2 pupils create fish using soft modelling wire.